*I am a participant in the Amazon Services LLC Associates Program, an affiliate advertising program. I earn commission off of qualifying purchases.
A few nights ago I asked Alex, "what am I good at?" I was having a moment of feeling like I have nothing meaningful to contribute to society. Sometimes we get so busy doing stuff that we don't take time to enjoy it or truly hone any skills. I have a full time job as a Project Coordinator. I love baking and crafting. I am a Seint Artist and sell an incredible makeup line. I go live twice a week showing makeup and talking about life. I help Alex with some resin and wood compacts and other custom art pieces. I create abstract art and acrylic themed art. We lead a community group through church. I host a virtual bible study. I manage several social media accounts. I cook. I clean. I have little life hack tips and tricks for cooking, cleaning, baking and just generally creating that I share on social media. BUT. What am I good at?
"You're a good mom," he said.
So then we talked about what that means and how much time I really spend with my 3 year old twins in between all the aforementioned activities and responsibilities. We decided we were going to be more intentional with our nights and weekend time together and use it to craft. We can be SO GUILTY of turning on the tv while we cook after work instead of handing the girls some paint brushes or markers. I love creating and so do they. We're going to go on a journey together to foster their love for creating and maybe even learn a thing or two in the process ourselves!
Saturday we started with a picture flower craft. I followed Alli's guide from madewithhappy.com You can find the full blog post and free printable we used for the flower here.
Here's what we used to create our flowers:
- small plastic circular container for the base
- 2 cupcake liners
- 1 straw
- free printable flower (link above)
- washable markers
- washable paint
- tape
- exacto knife
- scissors
- paint brush
- paper plate
- candies for a pop of color!
- a close up picture of their face
The girls colored their flowers with markers and I cut them out. Then they painted their bases and lids with the paint. While that dried we assembled the flowers. On Alli's print out there is a circle for you to cut out and trace on the photo of your child. The girls helped trace around the circle and I cut out their little faces from the photos. Then they taped their picture to the inside of a cupcake liner and taped the cupcake liner to their cut-out flower and taped the straw on the back of the flower. If you read Alli's blog she used some flower foam to hold the straw steady and biodegradable pots for her base. I didn't have those and didn't want to have to go out and buy anything to do this craft so we just used some small plastic containers I had that had lids. I cut an 'x' in the center of the lid for the straw to go through so it wasn't loose.
When the containers were dry we helped the girls put the stems through the cupcake liners (I had cut a little hole in the base of them) and the lid of the plastic container. They we put some candies in the cupcake liner for a pop of color and to give them weight.
et voila!
Would it be ideal to have solid colored or white cupcake liners? Probably. But it was either hearts, zebra or Santa so these seemed like the best option.
Now some product specifics if you need help getting started:
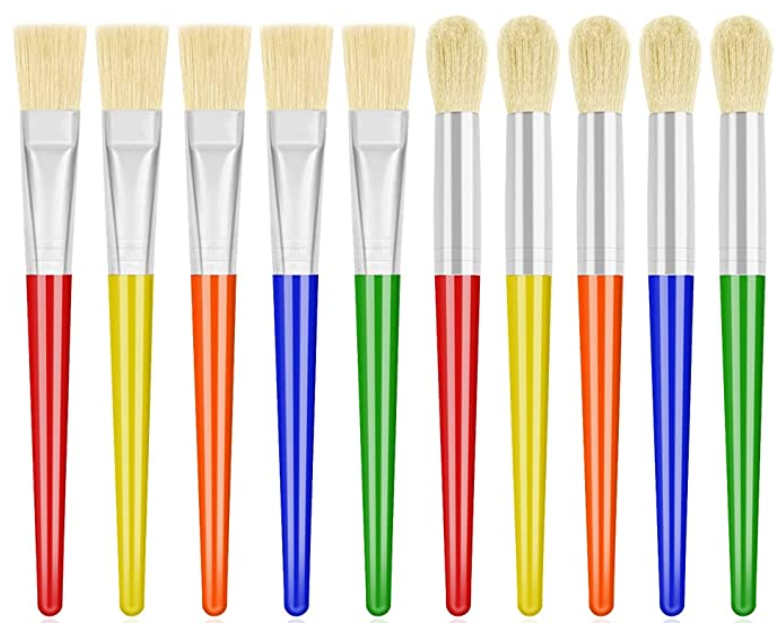
For young kids (my girls are 3) I like big paint brushes, like these ones from Amazon. They are super cheap and will last you ages. Just rinse out with water immediately following your crafting.


Comments
Post a Comment